Create AWS Account
Introduction
Welcome to the "Mastering AWS DevOps" series! As you explore Chapter 1, "Setting Up Your AWS Account," this blog post, I will guide you through the essential steps of creating your AWS account. A well-configured AWS account is the first important step in your DevOps journey, as it forms the foundation for all subsequent hands-on in the AWS environment.
In this blog, you will learn:
- Creating an AWS Account: How to register a new AWS account with step-by-step instructions.
- Entering Your Account Details: Providing essential information and verifying your email address.
- Filling Out Contact Information: Specifying whether the account is personal or professional and ensuring accurate details.
- Setting Up Payment Information: Inputting your credit or debit card details for account verification.
- Validating Payment: Understanding the small test charge process for card verification.
- Phone Verification: Verifying your identity with a code sent to your phone.
- Choosing a Support Plan: Selecting a support plan that fits your needs.
- Account Activation: Completing the setup and understanding the activation timeline.
You can watch this in the video below:
How to create an AWS FREE Tier Account with step-by-step instructions.
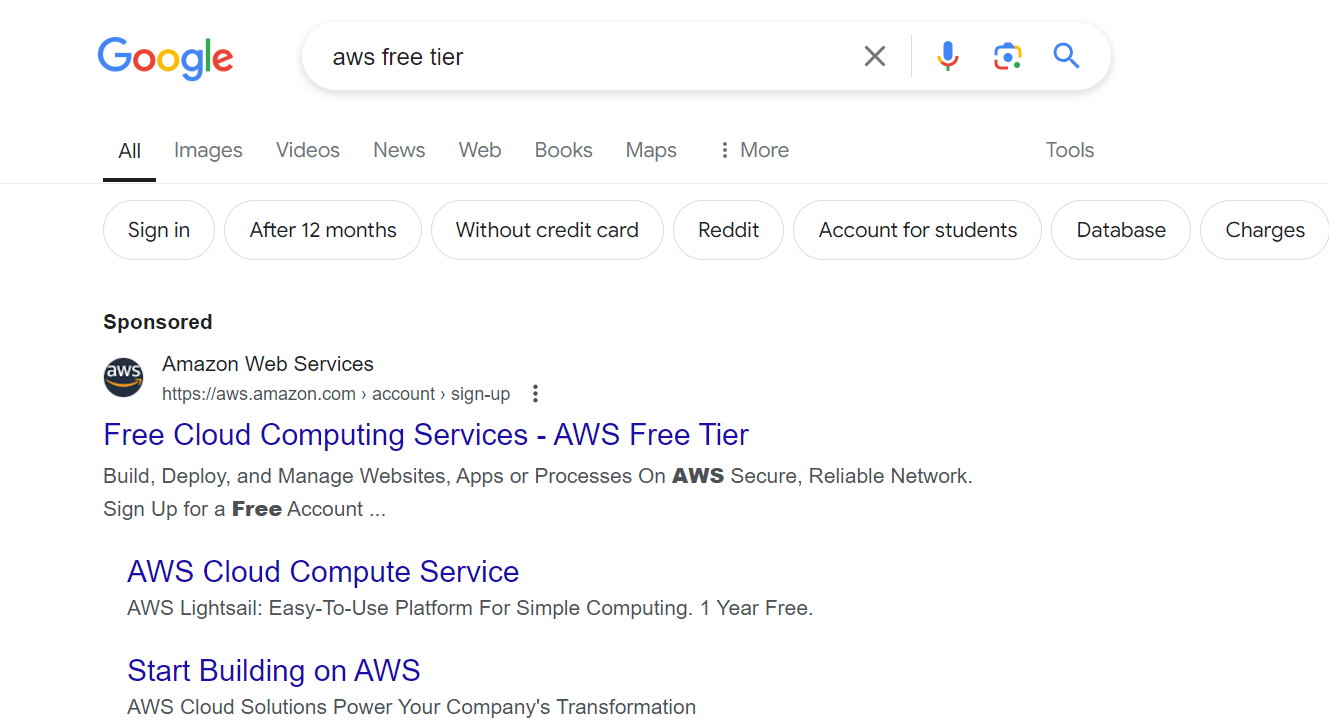
Step 1: Go to your browser and type "AWS FREE Tier" into the Google search bar. You are going to click on the very first search result (Figure 1.1: search result)
Question: Why Free Tier?
Ans:The AWS Free Tier allows customers to explore and try out AWS services free of charge up to specified limits for each service. The Free Tier consists of three different types of offerings, 12 months free, always free, and short-term free trials. You can also learn more from AWS Free Tier FAQs.
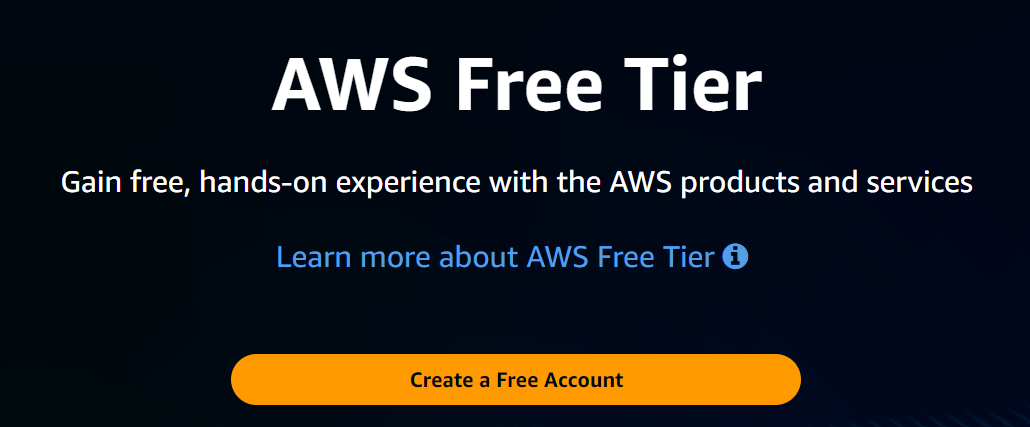
Step 2:After clicking on the link, you will be directed straight to the official AWS Free Tier webpage (Figure 1.2: AWS Free Tier).
Entering Your Account Details: Providing essential information and verifying your email address.
Step 3:As you open the AWS FREE TIER page, click on the button Create a Free Account (Figure 1.3: Create an AWS Account).
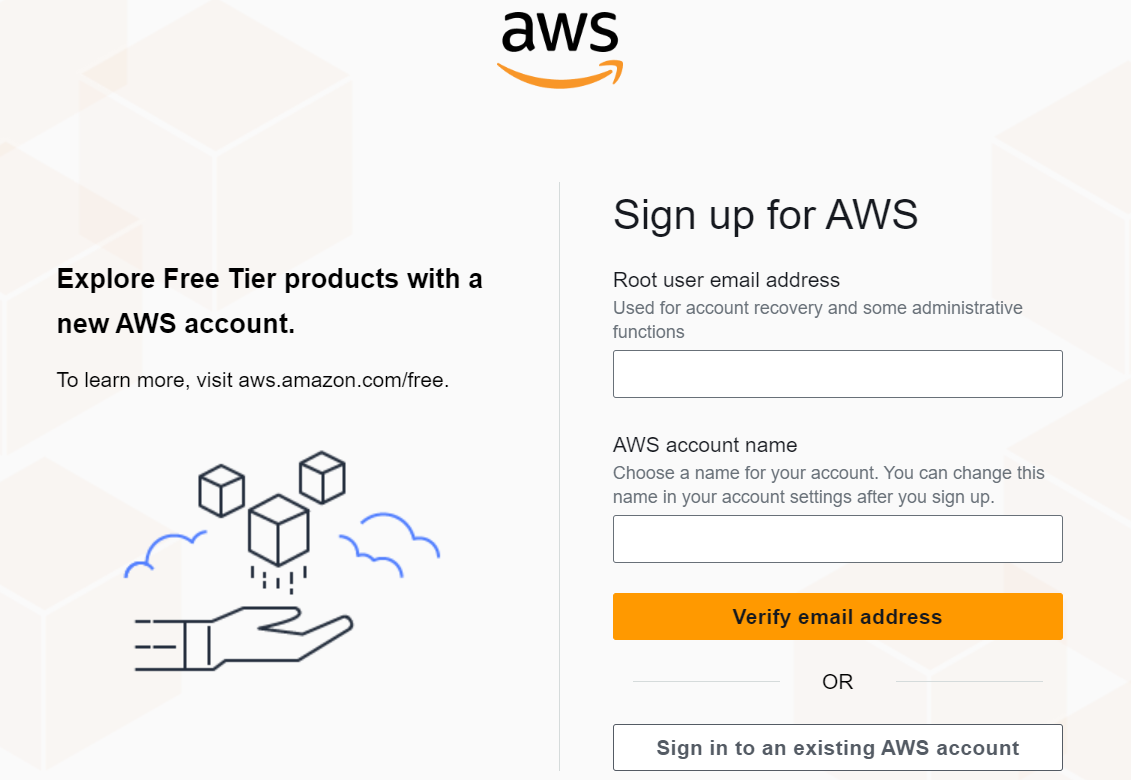
Once you click on that button, you will be prompted to enter your basic details, including your root user email address and a unique AWS account name.
Question: What is the root user?
Ans: When you first create an AWS account, you begin with a single sign-in identity that has complete access to all AWS services and resources in the account. This identity is the AWS account root user. You can sign in as the root user using the email address and password that you used to create the account. Read more about root users here.
Enter the active email with which you want to create an AWS account.
Step 4:Fill the required information.
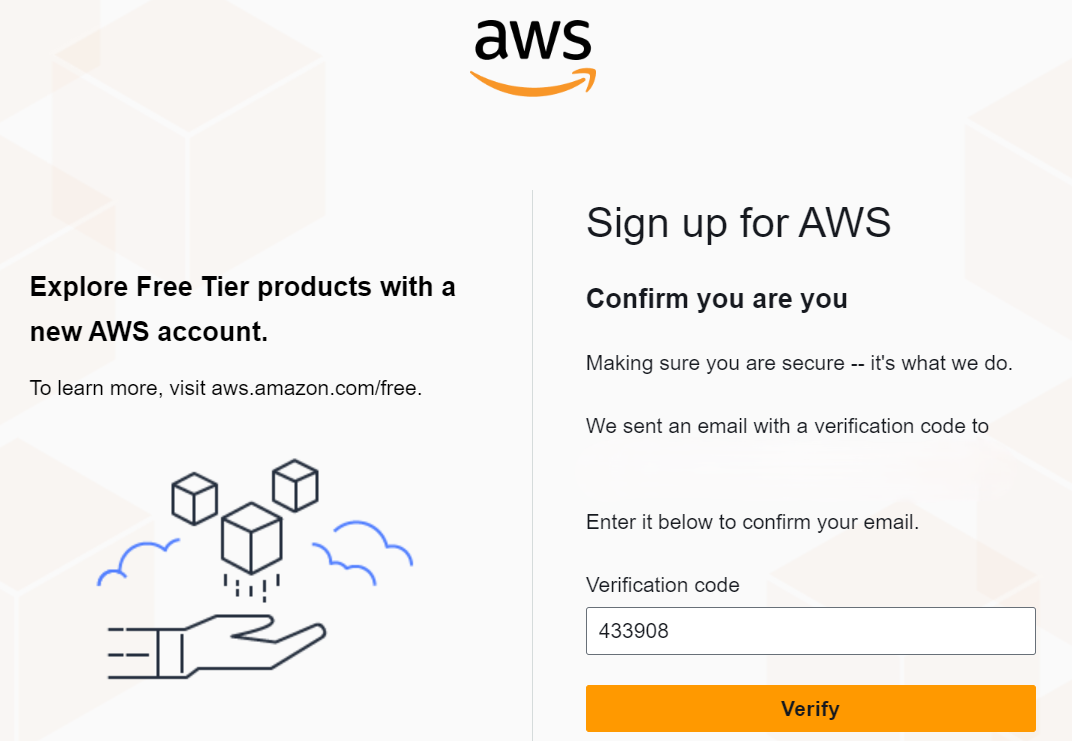
Now confirm the verification code sent to the email address and click verify (Figure 1.4: Confirm the Verification code).
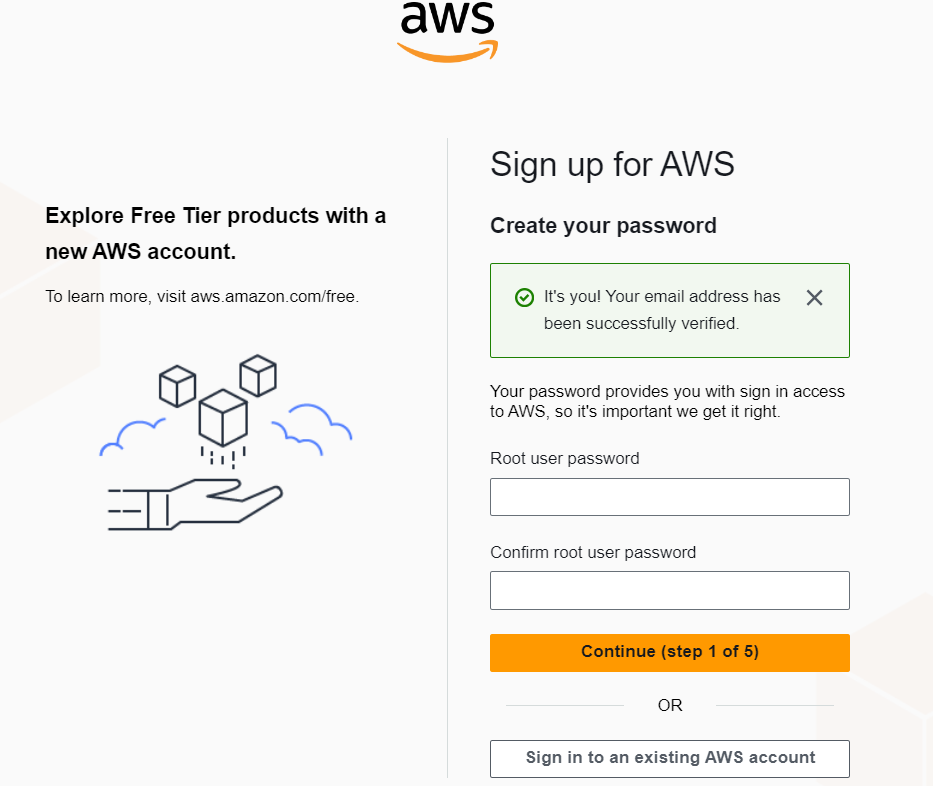
Step 5: Now choose a strong password, confirm the password once again, and click on continue (Figure 1.5: Create a password)
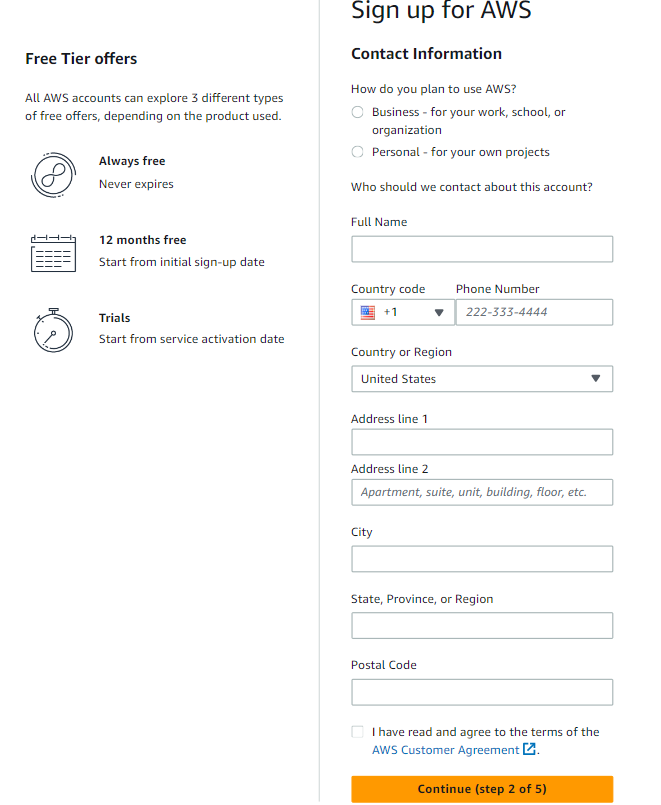
Filling Out Contact Information: Specifying whether the account is personal or professional and ensuring accurate details.
Step 6: Choose how you want to use AWS. Fill in your full name, phone number, Country, Address, city, state, and postal code. Also, accept the Customer agreement and click "CONTINUE" once you’re done filling in (Figure 1.6: Contact Information).
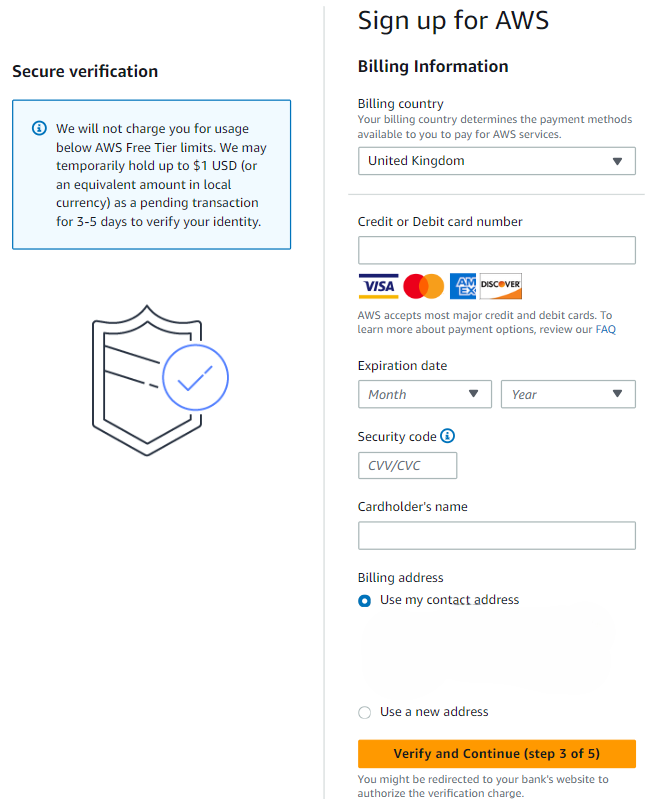
Setting Up Payment Information: Inputting your credit or debit card details for account verification.
Step 7: The next step is to provide a credit card for billing your AWS account. It recommended that your debit card has at least $1 in it so that AWS can use it for verification.
You can also create a virtual card and you should have at least $1 in It. Don’t panic, your money will not be deducted but note that your registration will fail if you don’t have the amount there. Once you’re done, click Verify and continue (Figure 1.7: Billing Information).
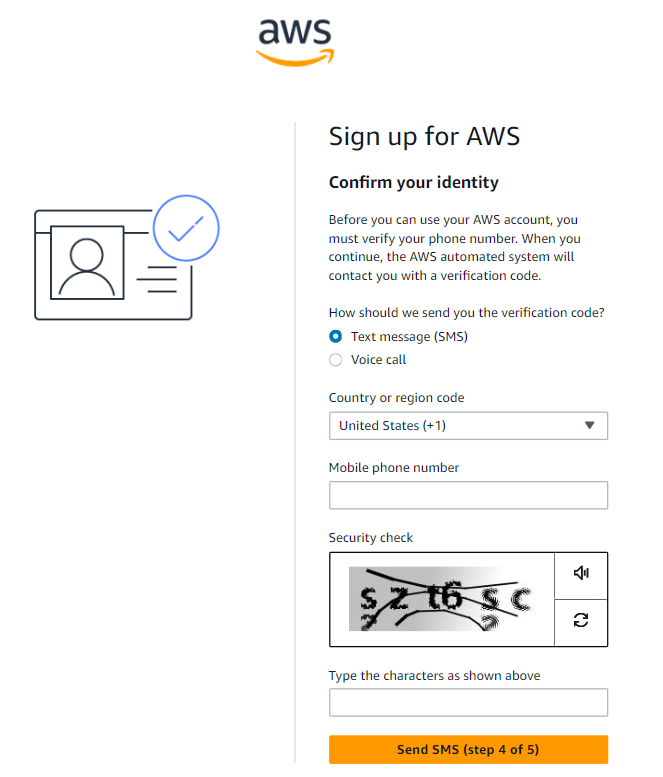
Phone Verification: Verify your identity with a code sent to your phone.
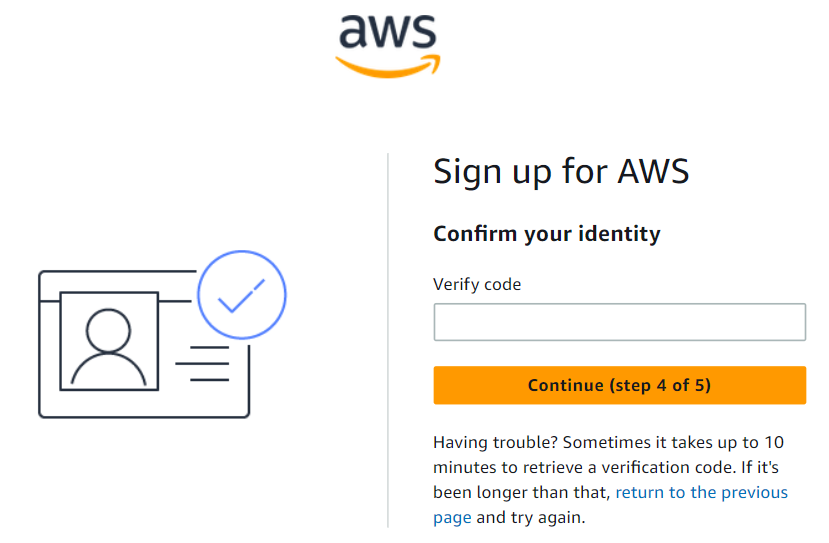
Step 8: Select the option to get a verification code, select the country, type your active mobile number and then type the characters shown in the security check. Click on "send SMS". (Figure 1.8 Confirm your identity)
Step 9: You will get a code on your mobile device. Fill in that code here and press the continue button (Figure 1.9: Verify code)
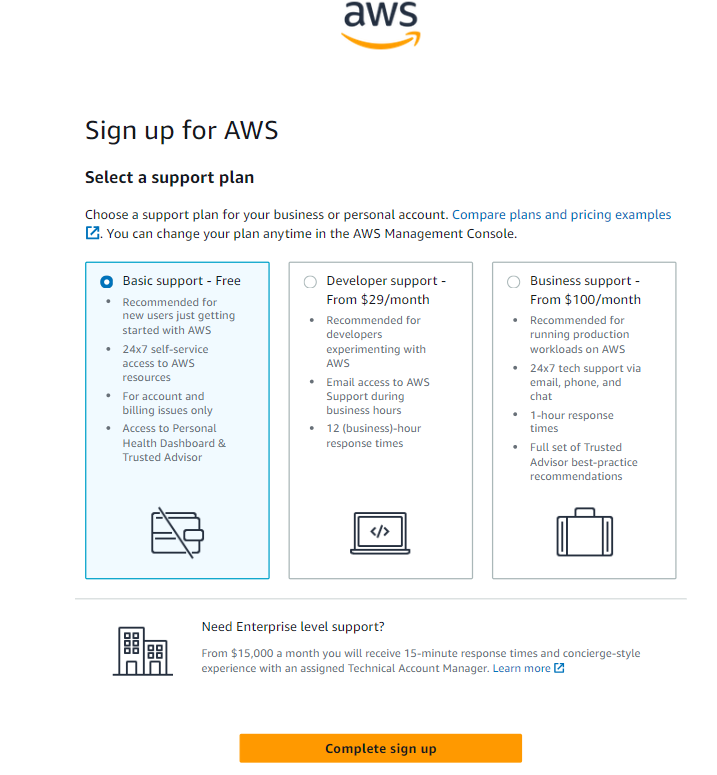
Choosing a Support Plan: Select a support plan that fits your needs.
Step 10: Choose the type of support you need (you may go with the Basic support plan) and click on Complete sign up (Figure 1.10: Select a support plan).
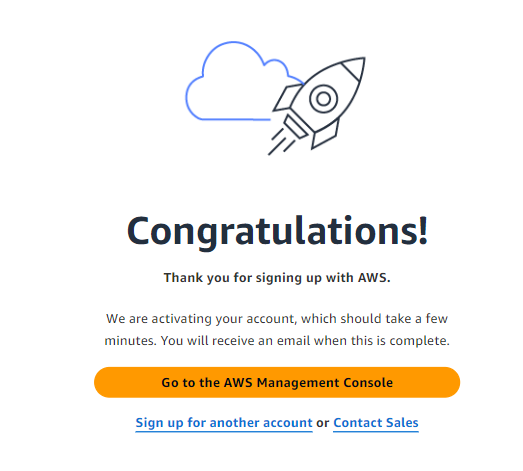
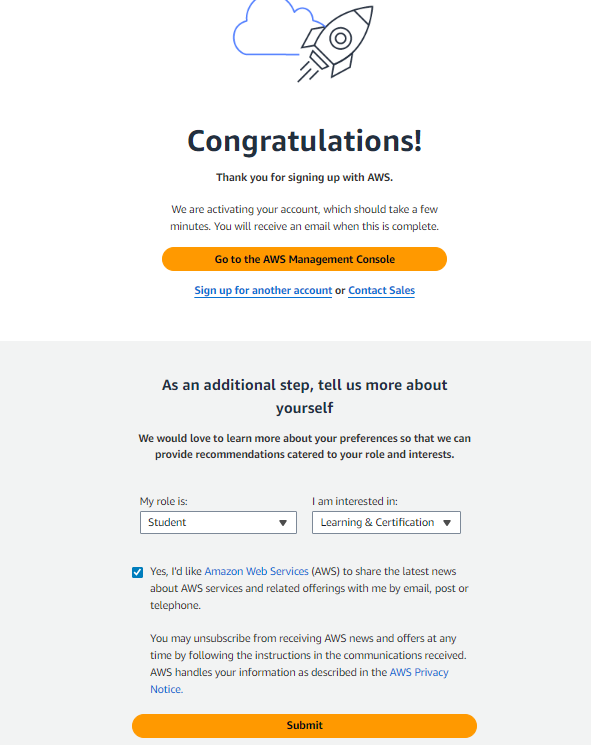
Step 11: After that, you get a congratulatory message and then you can log in to your console. Here you will get some additional steps like role and interest in. You have to fill in as per your requirement and click on the submit button. (Figure 1.11: Congratulations)
Account Activation: Completing the setup and understanding the activation timeline.
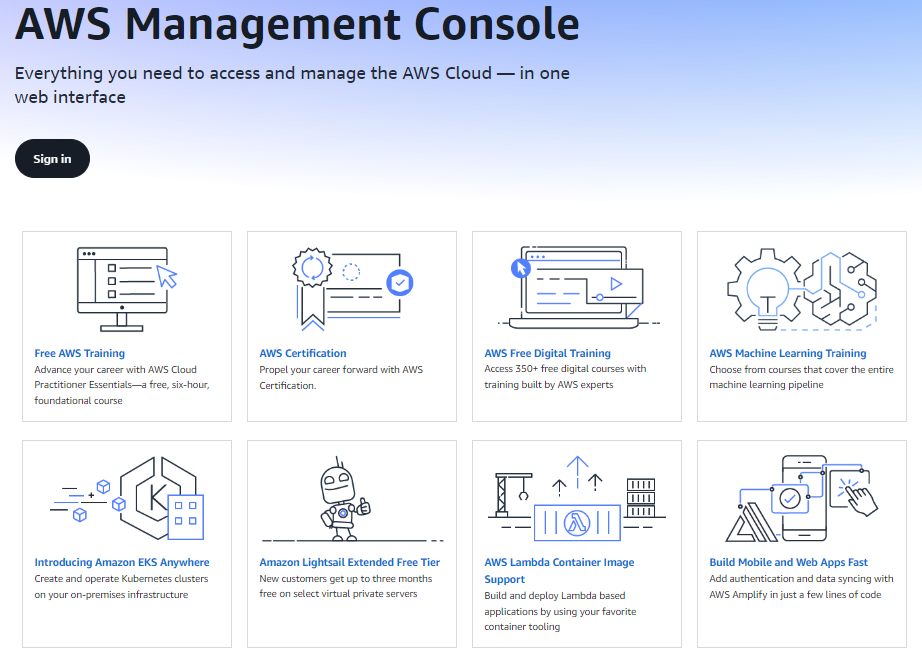
Step 12: When you click on the submit button, you will get a page of the AWS management console. Now click on sign in (Figure 1.12: AWS management console).
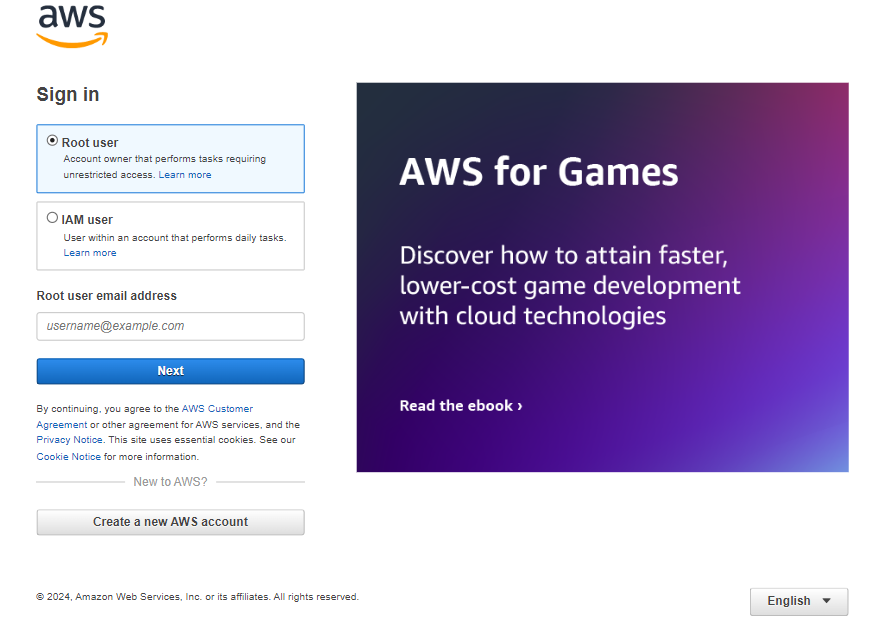
Step 13: You will be taken to the Sign In page where you will find the root user and IAM user radio buttons, as we will create the IAM user in the future Task do select the root user for now and enter the email address you gave to register for the account creation and Click on the next button (Figure 1.13 Sign in page).
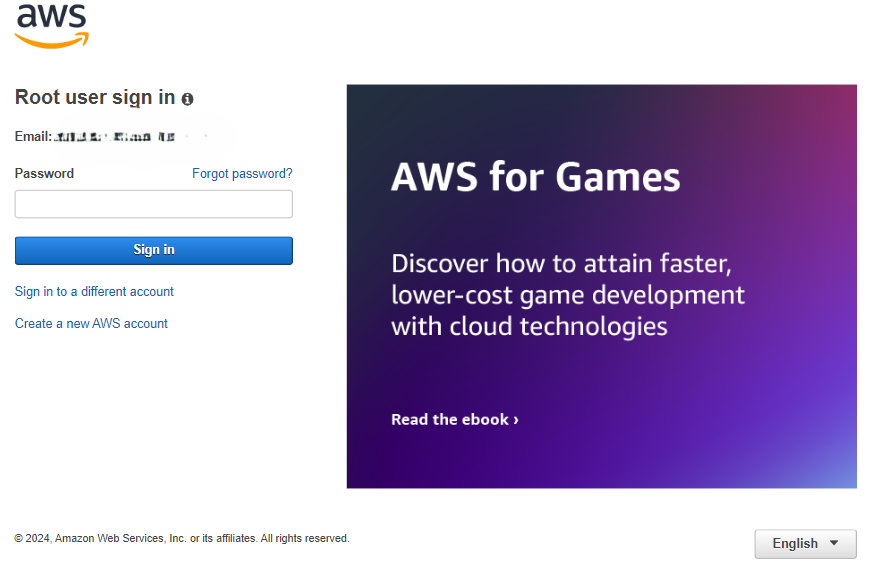
Step 14: Here, you have to give the password and click on Sign In to land up in your console dashboard and click on the Sign in button. (Figure 1.14: Root user Sign in)
Step 15: Finally, you will get the Console home page of AWS services (Figure 1.15 AWS Management Console)
Congratulations! You've created your AWS Free Tier Account. Get ready to explore and learn all sorts of cloud magic.
Conclusion
And that's it! See, creating an AWS Free Tier Account is as simple as following a recipe. You're now part of the AWS cloud adventure. With your AWS account ready, you're now set to explore the vast array of AWS services and make your mark in the cloud domain!
Share this post: